 Contact sales:


 German

How to install the SalesViewer® tracking code
This guide will walk you through the steps to successfully implement the SalesViewer® tracking code on your website and check its functionality. Without the correct implementation of the tracking code, it is impossible for SalesViewer® to collect the data necessary to identify company visitors and provide insights into visitor behavior.
Receiving the SalesViewer® tracking code
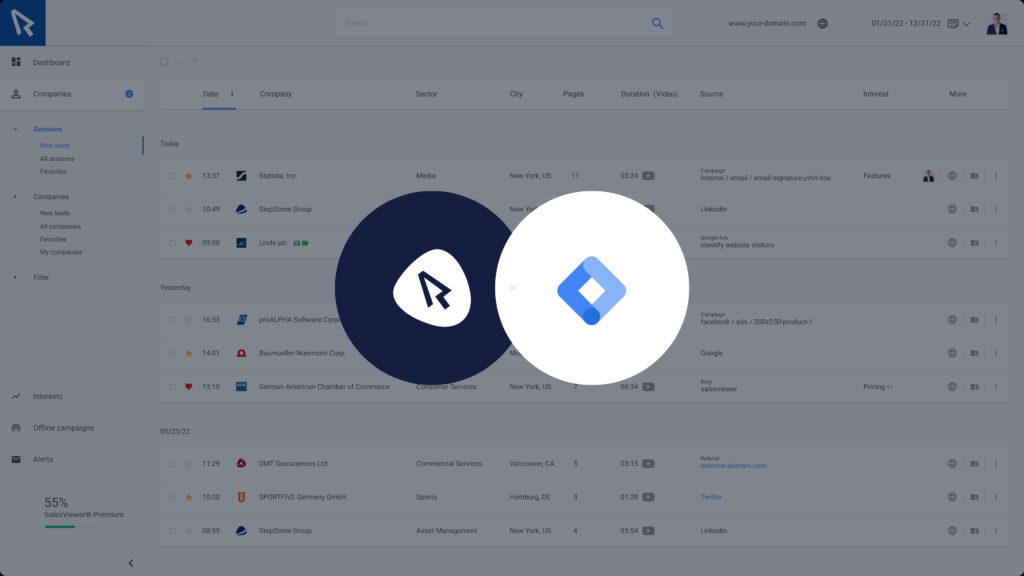
After registering the SalesViewer® trial, you will receive your unique tracking code by email. This JavaScript code is specifically configured for your website and collects data about visitor behavior. You can also view this code in the SalesViewer® dashboard under “Projects & Tracking”.
Three ways to integrate the tracking code into your website
There are three ways to integrate the SalesViewer® tracking code into your website: via your content management system (CMS), Google Tag Manager (GTM) and direct HTML integration. Each method has its specific advantages and depends on your website structure and your personal preferences.
CMS integration:
Integration via CMS is often the simplest solution, as many systems offer their own areas for inserting tracking codes. This minimizes technical hurdles and enables quick implementation.
For specific instructions on how to install the code on different platforms such as WordPress, Typo3, Joomla, Shopify and Wix, visit the following installation guides:
Integration with Google Tag Manager:
The GTM is ideal for users who need to manage multiple tracking and marketing tags. It offers advanced settings, such as the definition of triggers that determine under which conditions the tracking code should be loaded.
A detailed guide on how to implement the SalesViewer tracking code can be found here.
HTML integration:
This method requires a basic understanding of HTML and access to the source files of your website. The code is usually inserted before the closing </body> tag.
Checking the functionality of tracking
To check whether the SalesViewer® tracking code is working correctly, the SalesViewer® dashboard offers a simple and direct method:
- After installing the tracking code, navigate to the SalesViewer® dashboard.
- Check the name of the current project displayed at the top of the dashboard.
- A green dot should appear next to the project name to indicate that tracking is active and functional.
- The system can take up to 24 hours to show the first company detections.
If the green dot does not appear, ensure that the tracking code has been inserted correctly into all pages of your website.
Expert help from SalesViewer®
If you still encounter challenges after these checks, SalesViewer® offers professional support.
Our team of experts is readily available to collaborate with you in order to analyze the causes
and discover appropriate solutions. Our experts can be contacted by email via help@salesviewer.com.
